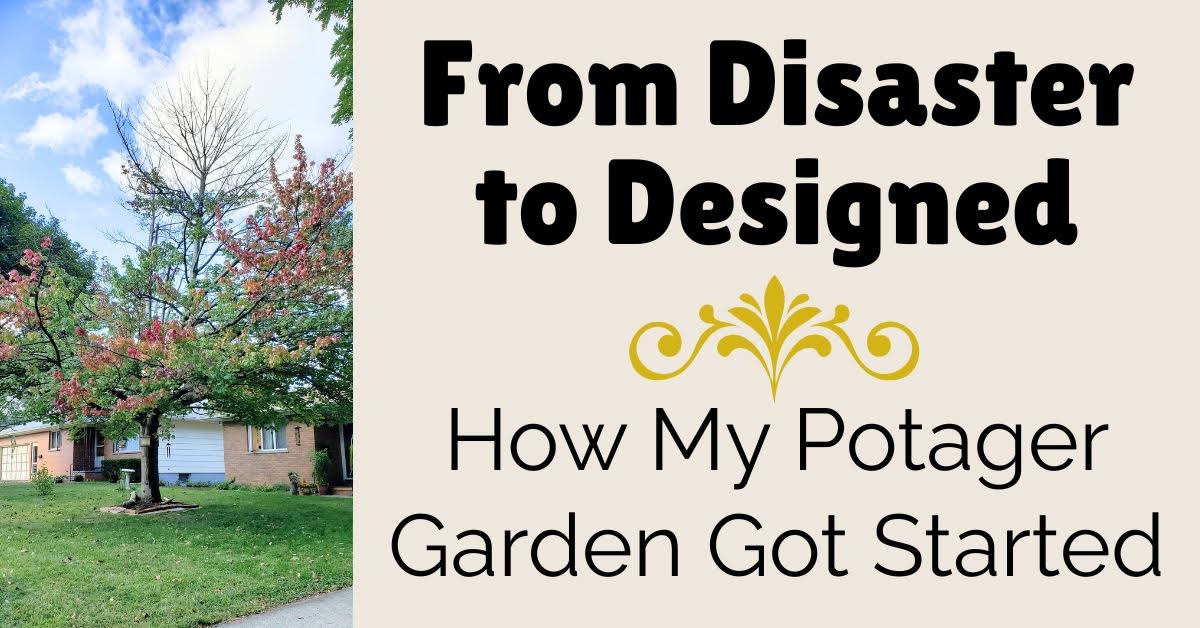
- The Tree That Started It All
- The Hard Goodbye
- A Yard Without a Focal Point
- Discovering the Potager Idea
- Laying Out the Design
- Building the Beds
- Giving Each Circle a Theme
- Building an Archway Entrance
- Lessons Learned
- The Spring Garden
- The Summer Garden
- The Fall Garden
- The Winter Garden
- The Arch
- Closing Thoughts
The Tree That Started It All
The tree in the middle of my front yard was a disaster. I loved that tree. I’m not sure what kind of maple it was, but its leaves turned a beautiful crimson red in the fall, lighting up the whole yard. Unfortunately, its beauty was being marred by dead limbs poking up into the sky.
For a while, we tried to keep it going. My rock-climbing daughter even helped cut away the worst of the dead branches to give it a little more time.

When an arborist came to look, she explained that the tree was girdled—its roots had circled tightly around the trunk, choking itself off.
I was crushed. I had hung wind chimes on its branches, decorated it with Christmas ornaments, and even made pinecone ornaments rolled in peanut butter and birdseed for the squirrels. I couldn’t imagine my yard without it.
The Hard Goodbye
Tree removal was far too expensive for me, so I tried “distraction gardening.” I planted a border garden around the base and hung baskets from the branches so visitors would focus low instead of looking up. For a while, it worked.

But the tree kept losing healthy limbs and growing more lopsided. My rock-climbing daughter bravely sawed off smaller dead branches, but larger ones developed dangerous cracks. I feared a storm might bring them down on my car.
That’s when the men’s ministry team at church stepped in. I asked if they knew anyone who could take a tree down. The leader replied, “We can do it. Can we come over tomorrow?”
What?! Tomorrow? I had to say goodbye fast.

It was mid-March—actually perfect timing while my perennials were still dormant. I agreed. When I returned from work the next morning, the limbs were already on the ground, and they were cutting the trunk. It was emotional watching my beloved tree chopped into pieces.
I asked to keep the three large trunk sections as souvenirs. One was left in the ground at the perfect height to become a plant stand. Best of all, these kind men wouldn’t let me pay them a cent. What a blessing!
A Yard Without a Focal Point
Suddenly my front yard looked bare and unbalanced. That tree had been the anchor, and now my eyes didn’t know where to settle.
I already had foundation beds, triangle gardens for a cottage and tea theme, a row of shrubs near the property line, and a circle garden for perennials. But without the tree, the whole space felt unfinished.
Then I realized something exciting—without the tree, I finally had sunlight! My backyard is mostly shade, and my front had been too, but now I had room for sun-loving plants.
Discovering the Potager Idea
I already had a central square bed where the tree used to be and triangles in the corners, plus one circle. A vision began forming: what if I turned the whole area into a potager garden?
I’d stumbled across potagers on YouTube and soon was devouring every garden and herb book I could find that talked about potagers. A potager is a French-style kitchen garden that blends beauty with usefulness. Vegetables, herbs, and flowers grow side by side, providing food for the kitchen and beauty for the eye.
Since my front yard faces a busy street—neighbors walking to school, the playground, or even the barber shop—it felt like the perfect place for a garden that was practical, but also designed to delight.
Once I caught the vision for a potager, I spent hours with garden books and notebooks, sketching layouts and imagining which plants might fill the circles and squares.

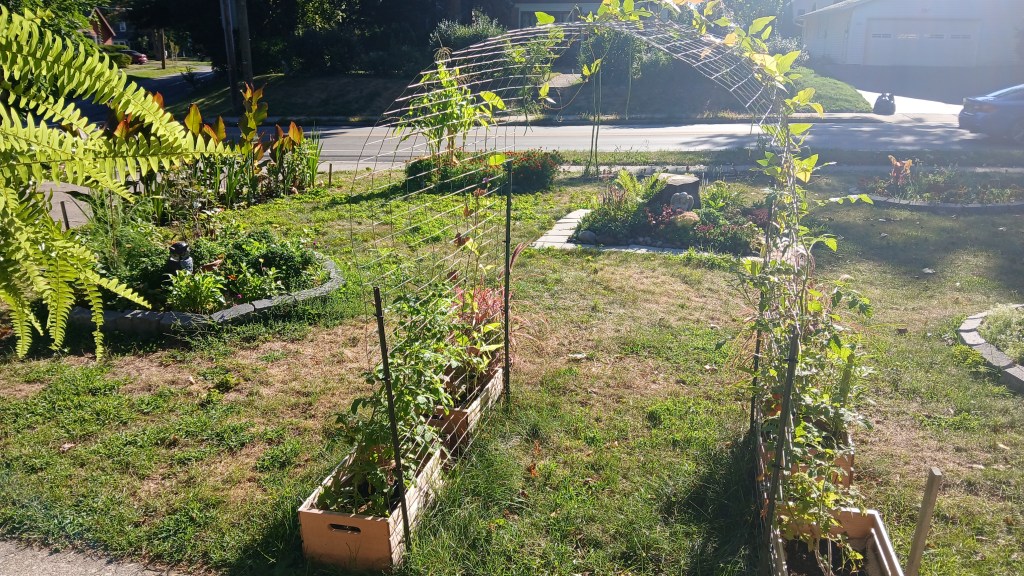
Laying Out the Design
With a plan in hand, it was time to bring the design to life in my front yard. I shared my idea with my friend Laurene, who has a garden design degree and a garden business of her own. Since it was still March, she had time to help. Together we laid out three more circle gardens so that each quadrant of the yard held one, equidistant from the square center. (Later I discovered we were slightly off, but it’s only noticeable from a drone’s-eye view!)
The existing circle had a rumblestone border. For the others, I improvised: one edged with spare bricks, one with an old wood border, and one simply marked by rope until I could afford more stone. Gardening is a process, after all.

Building the Beds
Next came removing grass—my least favorite task. I prefer the no-dig method. I considered cardboard but didn’t want to cut circles. Instead, I hauled in shredded leaf compost from my backyard, then topped it with purchased soil, peat moss, and composted manure.
Looking back, I should have added more depth. Grass still poked through, and violets invaded like soldiers. But at least I got the gardens going. I just had to do more weeding than expected later on.
Giving Each Circle a Theme
To make it fun (and manageable), I gave each circle a seasonal theme:
- Spring garden: strawberries, asparagus, chives, peas, spinach, carrots, and lettuce
- Summer garden: zucchini, green beans, corn, marigolds, basil
- Fall garden: pumpkins, swish chard, dill, onions
- Winter garden: kale, winter squash, and broccoli

Each circle had a pot of herbs in the center, with “spokes” of mums radiating outward like mini boxwood hedges, and colorful pansies filling in between. Each circle has its own border, whether strawberries, gomphrena, marigolds, alyssum, or dusty miller to tie everything together.
As a finishing touch, I mulched with chopped straw and gradually upgraded the borders to all matching rumblestone, paid for by my bouquet sales. By August, the circles looked unified and intentional.
Building an Archway Entrance
No potager is complete without an entrance arch! With no budget to buy one, I improvised with leftover wire fencing and T-posts, bent into an arch and zip-tied in place. At the base, wooden crates lined with burlap became planters for beans and cherry tomatoes to climb.
Now, right outside my door, the arch invites me to enter, wander the circles, and enjoy the rock garden at the center.
Lessons Learned
Since this was my very first potager garden, and I’d only dabbled in vegetables before, it turned out to be both a challenge and a joy. I quickly discovered that what I planned on paper didn’t always match what happened in the soil. Here are some of the lessons I learned along the way.
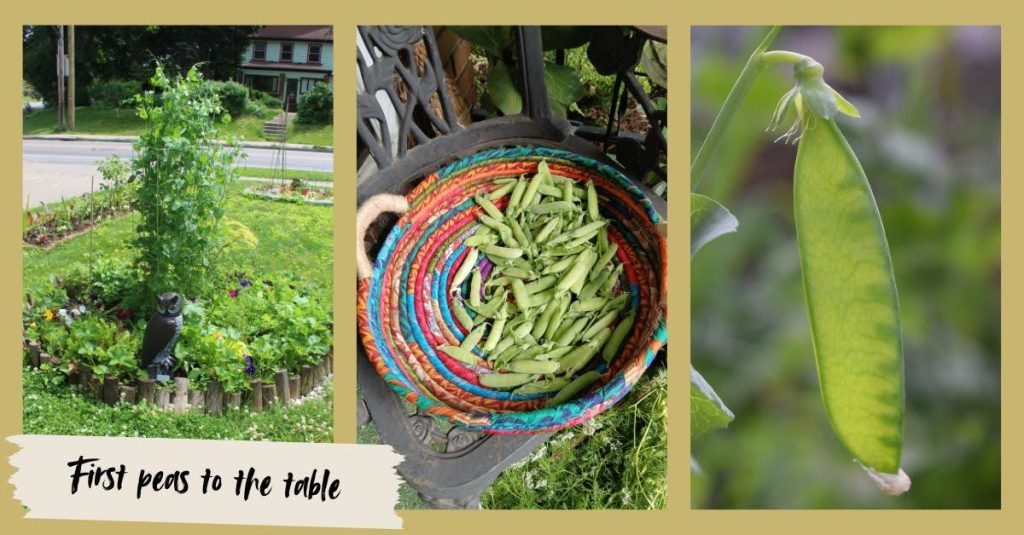
The Spring Garden
The strawberry border looked absolutely charming in spring, covered with tiny white blossoms. Unfortunately, the bunnies thought it was just for them. They ate most of the berries before I ever got to taste them, and when the plants finished fruiting, they sprawled into the lawn with runners. Eventually, I dug them out and moved them into a stacked tower on a table where they’re easier to protect. For the border, I replaced them with gomphrena. The little round blooms resemble strawberries at a glance, so I was perfectly happy with that swap.
The lettuce was another early highlight—bright green, tender, and delicious. I harvested bowlfuls, more than I could eat, before the rabbits and slugs caught on. Even so, much of it bolted quickly. Next year, I need to stagger my plantings so I don’t end up with one big glut that goes to waste.
Peas were one of my best crops. I grew them inside a square trellis, and they flourished—so much so that the trellis started leaning under their weight. By the time they yellowed, I’d already enjoyed plenty of harvests. When I cut the vines down, I left the roots in place, since peas fix nitrogen that future plants can use.
Carrots were a delightful surprise. They were short—likely due to the shallow soil and sod I hadn’t dug up—but oh, the flavor! Sweet, crisp, and nothing like store-bought carrots, which suddenly tasted like wood in comparison. Next year, I’ll loosen the soil more deeply and maybe add worms to help break things up. I can’t wait to grow them again.
Not everything thrived. The radishes didn’t do much, and honestly, I don’t eat many radishes anyway, so I’ll skip them next time. Fennel was another lesson learned: its feathery foliage looked gorgeous, but I didn’t know it secretes a chemical that makes nearby plants bolt. Sure enough, my spinach and bok choy went straight to flower. I moved the fennel into the center herb pot, but it never grew strongly there. Next year, I’ll keep it in my herb garden where it won’t sabotage the veggies.
Lastly, I transplanted asparagus. It didn’t take off right away, but asparagus is a long game. I’m learning to be patient—it’s the kind of plant that rewards you in years, not weeks.
The Summer Garden

The summer circle was a showstopper in some ways and a letdown in others. My Indian corn grew beautifully, fountaining upward with glossy green leaves and tassels that swayed in the breeze. By late summer, the bottom leaves began to brown, but I knew I could save the stalks for fall porch décor. Next year, I’m tempted to plant corn in the center of each circle—it adds height, structure, and plenty of material to share at church or decorate with in autumn.
Squash and zucchini were, once again, a disappointment. I tried two zucchini varieties and a yellow summer squash, each supported with tomato cages to keep the leaves upright. Despite all that effort, I only harvested a few small fruits. This was my third year of dismal zucchini results. I think my sandy soil just isn’t right for them, and I’ve made peace with letting local farmers supply me. Instead, I’ll claim that space for flowers that will actually thrive.
My purple bush beans were pretty, and the contrast of their blooms and pods against green leaves was lovely. But after a quick harvest, I realized I much prefer climbing beans that produce longer and more abundantly. Out they went, and flowers took their place.
The surprise heroes of the summer garden were the marigolds. I planted a border of dwarf French marigolds, and they absolutely thrived. The plants grew lush and nearly as large as my zucchini. Beyond their cheerful color, they served as excellent protectors—very few pests bothered my corn or beans. I’ll definitely grow them again, and this time I’ll collect seeds to save for future years.
The Fall Garden

The fall circle taught me some humbling lessons. I optimistically planted pumpkins there, but the bed is shaded for most of the day by my neighbor’s large maple. A little morning sun and a splash of late-afternoon light weren’t enough. The pumpkin vines floundered, and I eventually pulled them all out. Even the radishes didn’t
thrive there. I’ll save the rest of my radish seeds for growing microgreens on my kitchen windowsill instead.
Swiss chard, on the other hand, gave me hope. The starts I bought from the garden store grew lush and full, producing crisp, colorful leaves that tasted energizing and fresh. The seeds I sowed myself, however, stayed small and pitiful. I’m not sure why, but at least I know that if I want reliable chard, buying seedlings works. Eating it made me realize just how different fresh-picked greens are compared to store-bought—so much more vibrant and energizing.
For the border, I tried basil seeds at first, but they didn’t germinate. I filled in with more marigolds, but since I bought them later and chose a different variety, they never matched the lushness of the summer garden’s border. Lesson learned: if I want consistent borders, I need to start them all at the same time, preferably indoors. That means trays of maybe 50 seedlings! It sounds like a lot, but it would give me strong, uniform plants in both gardens.
Overall, most vegetables in this bed struggled. Too much shade. Next year, I’ll embrace that reality and devote the space to herbs—chives, basil, and maybe some alliums—which will likely handle the conditions better.
The Winter Garden

Pansies brought plenty of spring cheer, but they required constant deadheading to stay tidy. By midsummer I ended up pulling most of them out. Next year, I plan to start select colors from seed so I can grow exactly the ones I want.
Winter squash and broccoli struggled in the shade—once again proving they’re better left to the farmers.
Kale, on the other hand, did wonderfully! It tasted great, and unlike the kale I tried in the spring garden, this variety didn’t get devoured by bugs. I bought the plant from the garden center, so maybe it was a more pest-resistant type. I’ll need to research that further, but I’d definitely like to grow it again next year. As a bonus, kale leaves even work beautifully in flower arrangements.
Sweet alyssum didn’t stand out against the gray stone border, although it performed well when direct-sown. Next year, I may try combining alyssum with marigolds and dusty miller for a border that has more contrast and texture.
The Arch
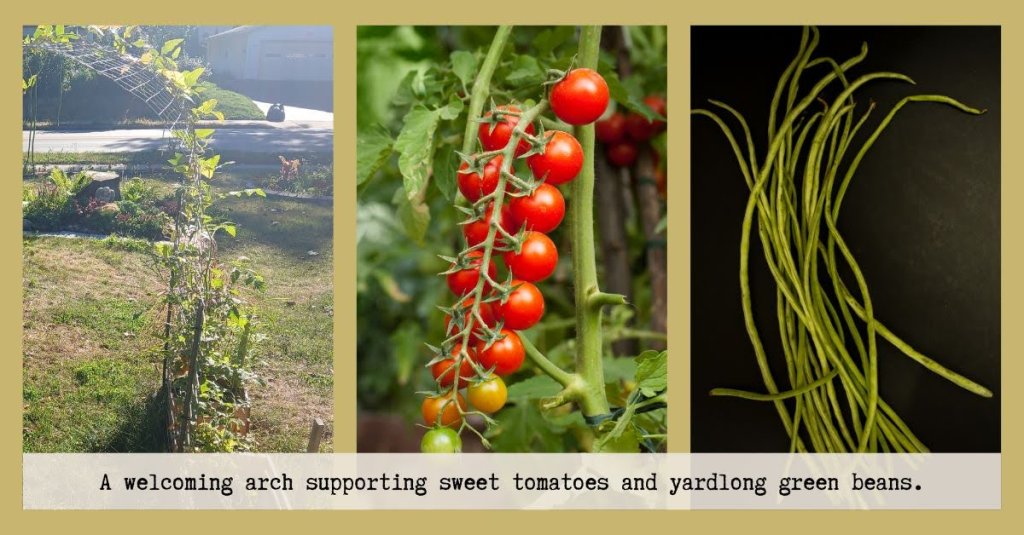
The climbing beans were a surprise and a delight. I tried a variety called asparagus beans, which promised pods up to a yard long. I was skeptical, but they delivered! The slender beans dangled dramatically from the arch, forcing me to duck underneath until it was time to harvest. When cooked simply—steamed, with butter and salt—they tasted like a cross between green beans and asparagus, but without the stringy fibers. They were both fun and delicious, and I’m already planning to grow them again next year.
The cherry tomatoes have been slower but just as rewarding. By midsummer, the vines had climbed three feet, and I began tying them to the arch to guide them upward. Based on past years, I expect they’ll eventually cascade right over the top, festooned with clusters of red jewels. I don’t even mind if I can’t eat them all—just the sight of glossy tomatoes dangling overhead makes me smile.
Next year, I’d also like to try peas on the arch—both edible peas in early spring and maybe some sweet peas for fragrance and flowers. I think they’ll make the entrance even more beautiful.
Together, the beans and tomatoes turned my simple DIY arch into a living, edible gateway. Each time I step outside, it invites me into the potager as though I’m walking into a secret garden—one that just happens to feed me, too. I recently added some pots of colorful ornamental grass to the base of the arch, so it really feels like a grand entrance.
Closing Thoughts
After one season, I came away with plenty of successes, some failures, and a garden that already has me dreaming about what comes next.
Thank you for joining me on this journey through my potager garden—its beginnings, mistakes, and blessings.
I already have big dreams for 2026: circles themed not by season, but by flower families. One will be daisies, another rudbeckias, another echinaceas, and the last a mix of basils and alliums.
Gardens change from year to year, each one a new experiment, a new adventure, a new blessing.
God bless you and your gardens!
Love,
Kristen
Discover more from The Shy Garden
Subscribe to get the latest posts sent to your email.
